EN
EN

Smart Pet Water Dispenser Maintenance Checklist for Product Buyers
A smart pet water dispenser can make fresh water easier to keep available, but it is not a set-and-forget appliance. Hair, food dust, mineral residue, and biofilm can collect in the basin, spout, filter, and pump. A simple routine helps product buyers understand what responsible everyday use looks like and what to inspect before a small issue affects water flow.
This checklist is written for households evaluating or using a smart pet water dispenser. The exact schedule should follow the product manual, because filters, pumps, and materials differ. Still, the same practical principle applies across most designs: keep the water moving, keep contact surfaces clean, and inspect the parts that are easy to overlook.
Start With a Safe Cleaning Setup
Before you clean a smart pet water dispenser, switch it off and unplug it. Empty the reservoir, then separate the basin, lid, spout, filter, and pump according to the manual. Do not immerse electrical connectors unless the manufacturer specifically says they are washable.
- Use clean water and a soft cloth or non-abrasive brush for routine cleaning.
- Keep a small brush for narrow channels, pump openings, and the spout.
- Do not use harsh bleach, abrasive pads, or fragranced cleaners that may leave residue.
- Rinse every washable part thoroughly before reassembly.
It is tempting to focus only on the visible bowl. In practice, the hidden pump chamber and water path deserve equal attention. If water flow drops, the issue is often trapped hair or residue rather than a failed motor.
Daily Smart Pet Water Dispenser Checklist
Daily checks are short, but they prevent a small amount of debris from becoming a larger cleaning task. For a pet smart water dispenser used by multiple animals, these checks may be needed more often.
- Check the water level. Refill with fresh water before the pump runs low. Low water can make a pump louder and may reduce its useful life.
- Look at the water surface. Remove hair, food particles, or visible debris from the basin and surrounding area.
- Confirm normal flow. A weak stream, sputtering, or unusual noise is a signal to inspect the intake and pump.
- Wipe the contact areas. Use a damp cloth on the rim, drinking surface, and exterior where dust or splashes collect.
- Check the cable and base. Make sure the cord is dry, undamaged, and routed where a pet cannot chew or pull it.
Ask yourself: would you be comfortable drinking from the basin in its current condition? That quick visual test is a practical way to decide whether the unit needs more than a refill.
Weekly Deep-Clean Checklist
A weekly deep clean is a sensible baseline for many homes, especially where pets shed heavily or the dispenser sits near food. Disassemble the unit so that each water-contact surface can be rinsed and cleaned individually.
- Empty the water and remove the filter before washing the other components.
- Clean the basin, reservoir, lid, spout, and any removable tray with a soft brush.
- Pay attention to corners, seams, and narrow outlet channels where film can build up.
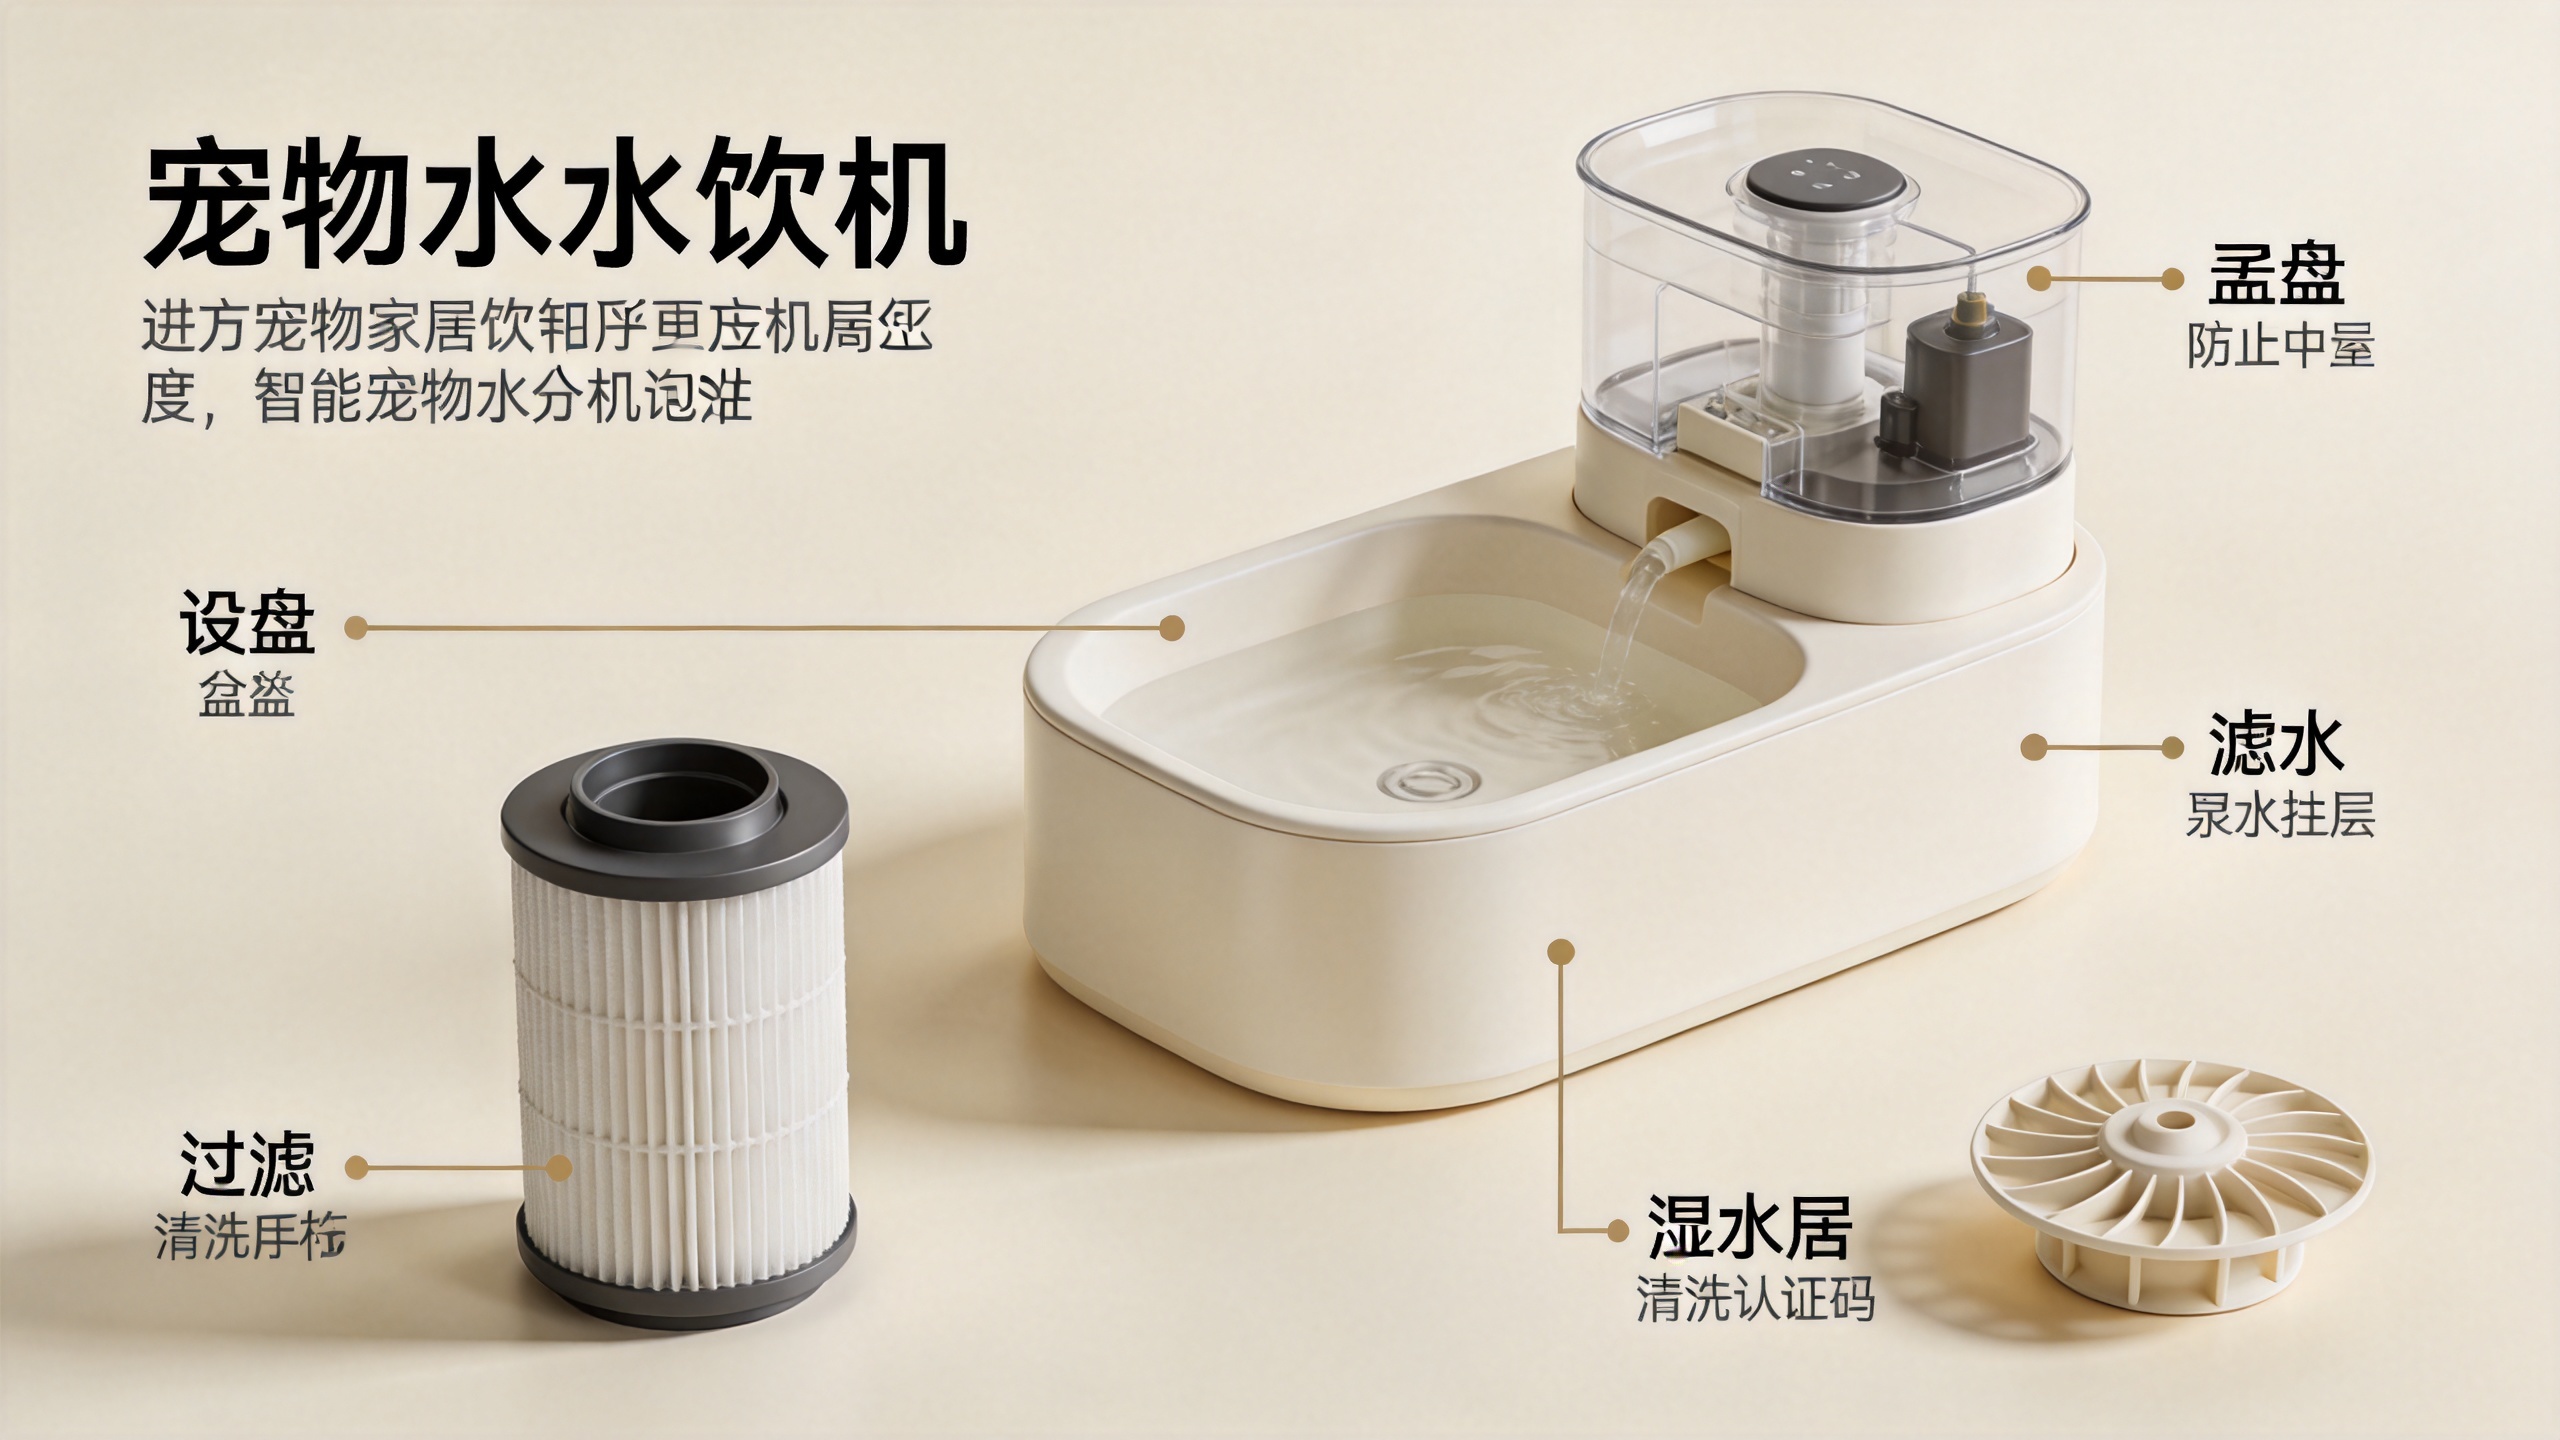
- Open the pump housing if the manual permits it, then remove hair or residue around the impeller.
- Rinse parts until no cleaning residue remains, and dry external electrical areas before reconnecting power.
For product buyers, ease of disassembly is worth evaluating before purchase. A smart pet water dispenser with accessible channels and a removable pump cover makes this routine much less frustrating. The MDC288 Smart Pet Water Fountain With Ceramic Tray is one example of a listed fountain product; confirm its included parts and care instructions before selecting a cleaning method.
Filter and Pump Checks That Prevent Poor Flow
Filters do not replace cleaning. Their job is to capture particles and help manage water quality, while the basin and pump still need regular care. Many general maintenance guides describe filter replacement in the two-to-four-week range, but your product manual and local water conditions should set the final timing.
Replace or inspect the filter sooner when you notice discoloration, reduced flow, a persistent odor after cleaning, or unusually fast debris buildup. Before installing a new filter, rinse it only if the manufacturer directs you to do so.
For the pump, inspect three areas: the intake, the impeller cavity, and the outlet. Remove loose hair and mineral residue with a soft brush. Do not force the impeller or use sharp tools. If the pump remains noisy or weak after cleaning and refilling, stop troubleshooting at the level recommended by the manual and contact the seller or manufacturer for the correct replacement guidance.
Monthly Inspection for Wear, Leaks, and Mineral Buildup
Once a month, give the smart pet water dispenser a slower inspection. Look for cracks, worn seals, stains that do not rinse away, damaged cable insulation, and moisture around the power connection. Check that the reservoir sits level and that the lid, tray, or spout locks into place without gaps.
| What to inspect | What to look for | What to do |
|---|---|---|
| Basin and reservoir | Cracks, cloudy residue, leaks | Clean, dry, and replace damaged parts as directed |
| Filter area | Darkening, blockage, odor | Replace on the manual's schedule or earlier if needed |
| Pump and impeller | Hair, mineral scale, weak flow, noise | Clean accessible parts and follow the manual for service |
| Power components | Frayed cord, wet connector, overheating | Unplug and discontinue use until safely resolved |
Hard water changes the maintenance picture. If white mineral deposits appear quickly, you may need to clean permitted water-contact parts more frequently. Do not assume that a vinegar solution, dishwasher cycle, or replacement part is compatible with every material; product instructions take priority.
Long-Term Care and Storage
If the pet smart water dispenser will not be used for several weeks, empty it completely, clean all washable parts, and let them dry before storage. Remove the filter as directed. Store the device in a cool, dry location and protect the cable from kinks or crushing. Before returning it to service, rinse the water-contact components, inspect the seals, and run a brief flow check.
A good long-term routine also includes keeping a record of filter changes and replacement parts. This is particularly useful for buyers managing several units in a retail, foster, kennel, or multi-pet setting. It helps separate normal consumable replacement from a recurring performance problem.
Final Buyer Checklist
- Can the basin, spout, and pump be accessed without difficult tools?
- Does the manual clearly state the cleaning and filter schedule?
- Are replacement filters and pump parts available for the model?
- Can the unit maintain normal flow after a routine clean?
- Are the cable, base, and water-contact components in good condition?
Regular care is less about making a smart pet water dispenser look new and more about preserving reliable water flow and a clean drinking area. Build the routine around your pets, your water conditions, and the product manual. When in doubt, clean the accessible parts, check the pump path, and replace consumables on schedule rather than waiting for performance to decline.